Doctor’s Orders
When it comes to the longevity of your vehicle, what the doc says regarding your own health apply here as well: an ounce of prevention is worth more than a pound of cure.
Your RV’s Worst Enemy
Of all the types of wear and tear to which your RV is vulnerable, water damage is certainly one of the worst. It can seriously diminish the resale value of your vehicle and cost a fortune to repair.
Do the Job Right
Maintaining your RV in top condition is essential, especially when it comes to keeping it watertight and that means proper caulking. Caulking an RV prevents leaks and costly damage.
In this article, we’ll walk you through how to use caulk in an RV, providing you with the best tips, techniques, and products to get the job done right.
Why Caulking is Important for Your RV
Proper caulking is your first line of defense against leaks and is vital for sealing joints, seams, and other vulnerable areas of your RV. Over time, caulk can deteriorate due to exposure to the elements, causing leaks that can lead to significant damage. Regularly inspecting and maintaining the caulk on your RV exterior is essential for preventing water damage and maintaining the integrity of your vehicle.
Choosing the Best Caulk for RVs
Before you start, it’s important to select the right type of caulk for your RV. Here are some popular options:
- Silicone Caulk – Excellent for flexibility and durability, but not always paintable.
- Polyurethane Caulk – Highly durable and paintable, ideal for RV exterior caulking.
- Butyl Rubber Caulk – Great for sealing RV roofs and windows, remains flexible over time.
When selecting caulk, make sure it’s compatible with the surfaces you’ll be working on and designed to withstand the elements.
Shop for Geocel Caulk Sealant.
Step-by-Step Guide to Caulking Your RV
- Inspection – Start by thoroughly inspecting your RV for areas where caulk is cracked, peeling, or missing. Common areas include seams, windows, doors, and the roof.
- Remove Old Caulk – Use a caulk removal tool or a putty knife to carefully remove the old caulk. Be gentle to avoid damaging the RV’s surface.
- Clean the Surface – Clean the area with an RV specific cleaning solution and water to remove dirt, grease, and residue. Be sure to use a soft wash brush and longarm pole. Allow it to dry completely before applying the new caulk.
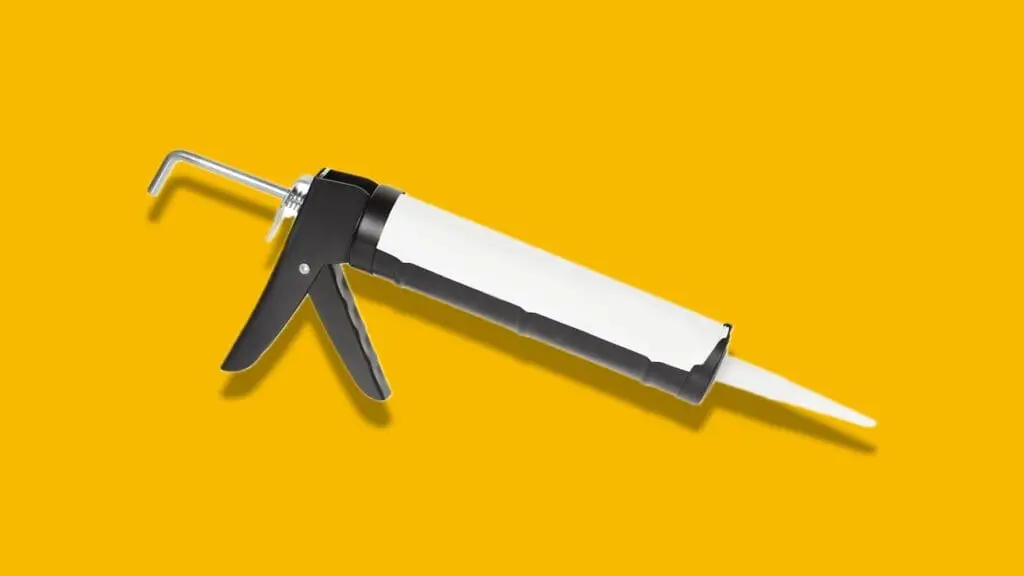
- Apply the Caulk – Cut the tip of the caulk tube at a 45-degree angle to control the flow. Apply the caulk evenly along the seam, holding the caulk gun at a consistent angle. For best results, apply in a continuous motion.
- Smooth the Caulk – Use a caulk smoothing tool or your finger (wearing a glove) to smooth the caulk and ensure it adheres properly. This also helps to create a professional finish.
- Allow to Dry – Let the caulk dry according to the manufacturer’s instructions. This is typically 24 hours, but it can vary based on the product and weather conditions.
Tips for Best Practices in RV Caulking
- Weather Considerations – Try to caulk your RV on a dry, warm day. Avoid caulking in extreme temperatures as it can affect the adhesion and curing of the caulk.
- Regular Maintenance – Check the caulking on your RV at least twice a year, ideally in spring and fall, to catch any potential issues early.
- Use Quality Products – Investing in high-quality caulk and tools can make a significant difference in the longevity and effectiveness of your work.
Specific Areas to Caulk on an RV
- RV Roof Caulking: Pay special attention to seams, vents, and any roof-mounted equipment. Use a caulk designed specifically for roofing applications.
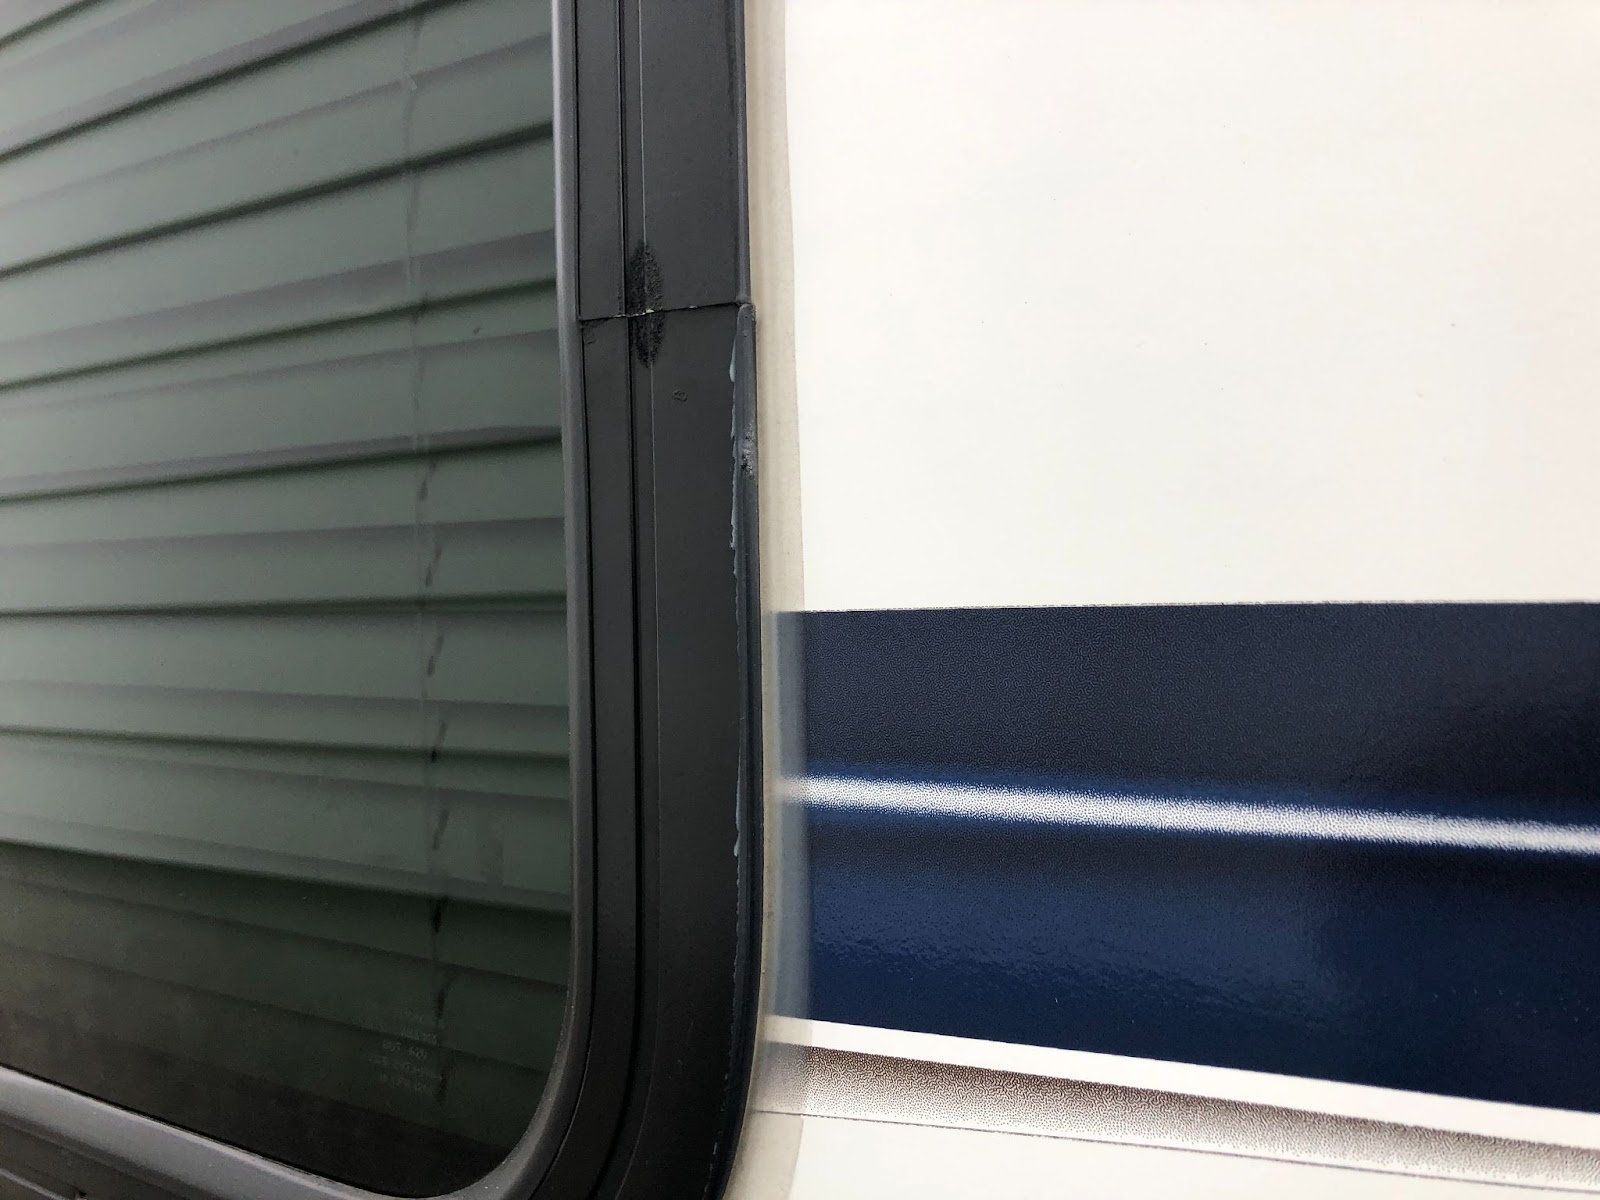
- RV Window Caulking: Windows are common sources of leaks. Ensure the caulk is applied evenly around the entire perimeter of the window.
- RV Exterior Caulking: Focus on all seams and joints on the RV’s exterior. This includes around doors, storage compartments, and any other openings.
Conclusion
Caulking your RV might seem like a daunting task, but with the right tools, products, and techniques, it becomes a manageable DIY project. By following this guide on how to apply caulk to an RV, you’ll ensure your vehicle remains leak-free and in excellent condition for many adventures to come.